Notebook
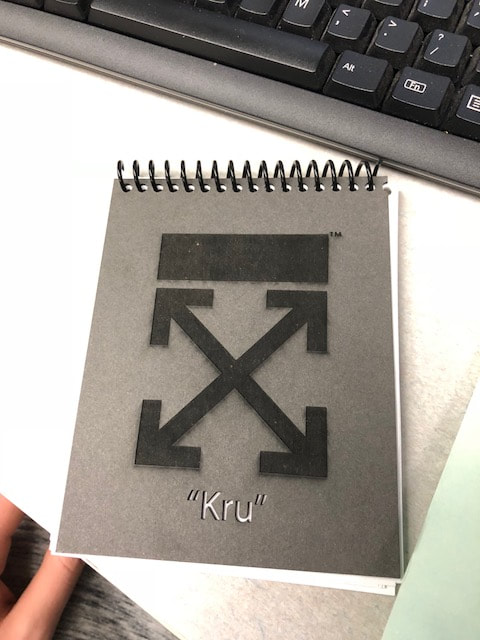
For the notebook assignment we were asked to create a small notebook, using the laser engraver to make designs on the front and back cover. We were also asked to have a cut-out design on one of the two covers. Once I had printed out my front and back cover, I cut out twenty pieces of paper to put in the notebook. Following that, I used a hole puncher and spiral piece of plastic to bind it all together.
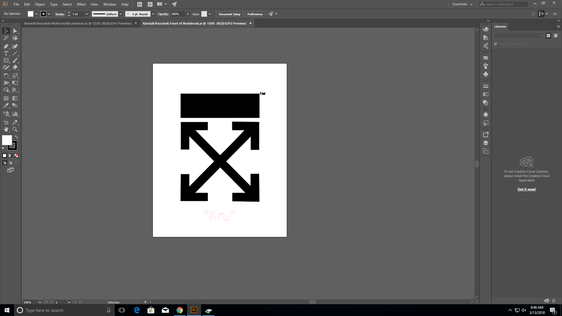
To start, I went and browsed google to find images I wanted to put onto the the two covers. After finding my image I wanted to use for the front, I saved it and opened it up in adobe illustrator. I made the page size 4.25 in wide and 5.5 in tall, and resized the image to look good. I then selected the image, right clicked and clicked group. I made sure the fill of the image was black so it would engrave it, and put a red rectangular line (.0001 pt) around the boarder of the work space so the laser knows to cut it out. We were also asked to have at least one cut-out on either the front or back, so i decided to cut my name in quotations out on the front. In doing this I picked a simple font and wrote my name, I then selected my name and outlined the letter with the same .0001 pt red line to cut it out. I did the exact same thing for the back cover as well, but with a different image and no cut-out.
|
|

|
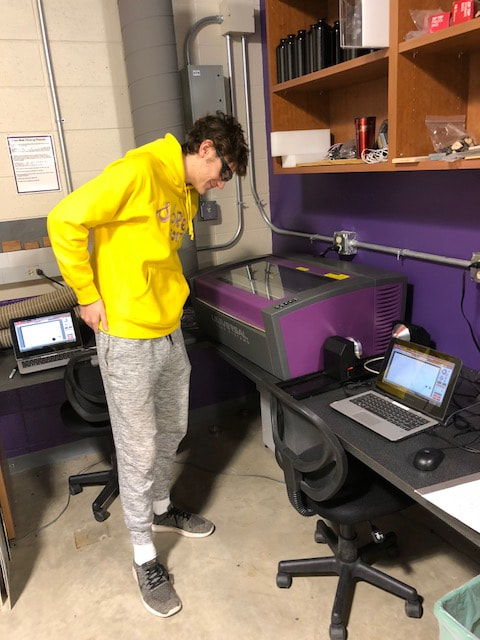
While doing this project I learned more about illustrator, for example I leaned how to use the group tool. I also leaned that the innovation center had a large hole puncher, capable of punching cardboard. In all honesty, most everything I did to complete this notebook project was learned from the key chain.
